| 일 | 월 | 화 | 수 | 목 | 금 | 토 |
|---|---|---|---|---|---|---|
| 1 | ||||||
| 2 | 3 | 4 | 5 | 6 | 7 | 8 |
| 9 | 10 | 11 | 12 | 13 | 14 | 15 |
| 16 | 17 | 18 | 19 | 20 | 21 | 22 |
| 23 | 24 | 25 | 26 | 27 | 28 | 29 |
| 30 |
- Python
- 우분투
- 리뷰
- 오차역전파법
- flag
- C언어
- 기울기
- 신경망
- CTF
- 순전파
- 파이썬
- 백준
- 책
- sgd
- HTML
- PICO CTF
- PHP
- 딥러닝
- 설치
- Apache2
- 코딩
- picoCTF
- PostgreSQL
- FastAPI
- 역전파
- 아파치
- AdaGrad
- Python Challenge
- 신경망 학습
- 소프트맥스 함수
- Today
- Total
Story of CowHacker
딥러닝 2.7 신경망 본문
지금까지 알아본 신경망을 통해 실전 예에 적용해보자.
손글씨 숫자 분류를 구현해볼 거다.

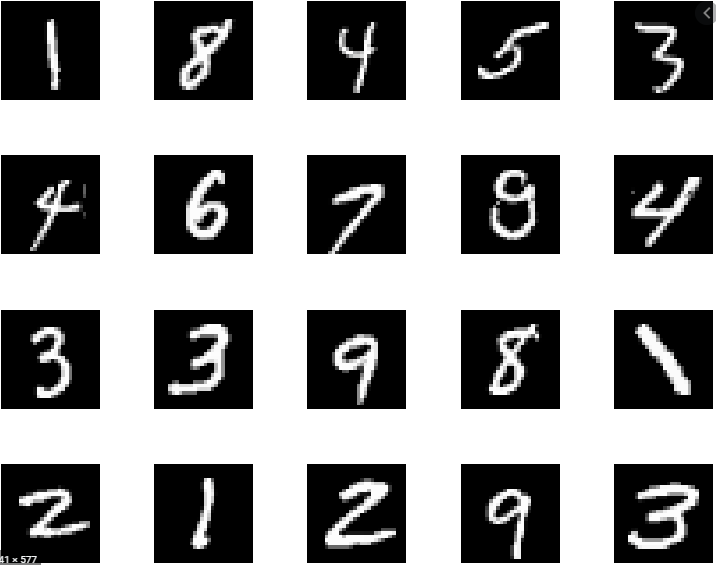
출처 : tinyurl.com/y2dcawlm
Figure 1. Examples handwritten digits in the MNIST dataset.
Download scientific diagram | Examples handwritten digits in the MNIST dataset. from publication: Long-Short Term Memory Networks for Modelling Embodied Mathematical Cognition in Robots | Mathematical competence can endow robots with the necessary capabili
www.researchgate.net
그림1 은 MNIST라는 이미지 데이터 셋의 예다.
이제 파이썬으로 MNIST이미지의 각 데이터 ( 사진 )의 형상 출력을 해볼 것이다.
그전에 해야 할 작업이 있다.
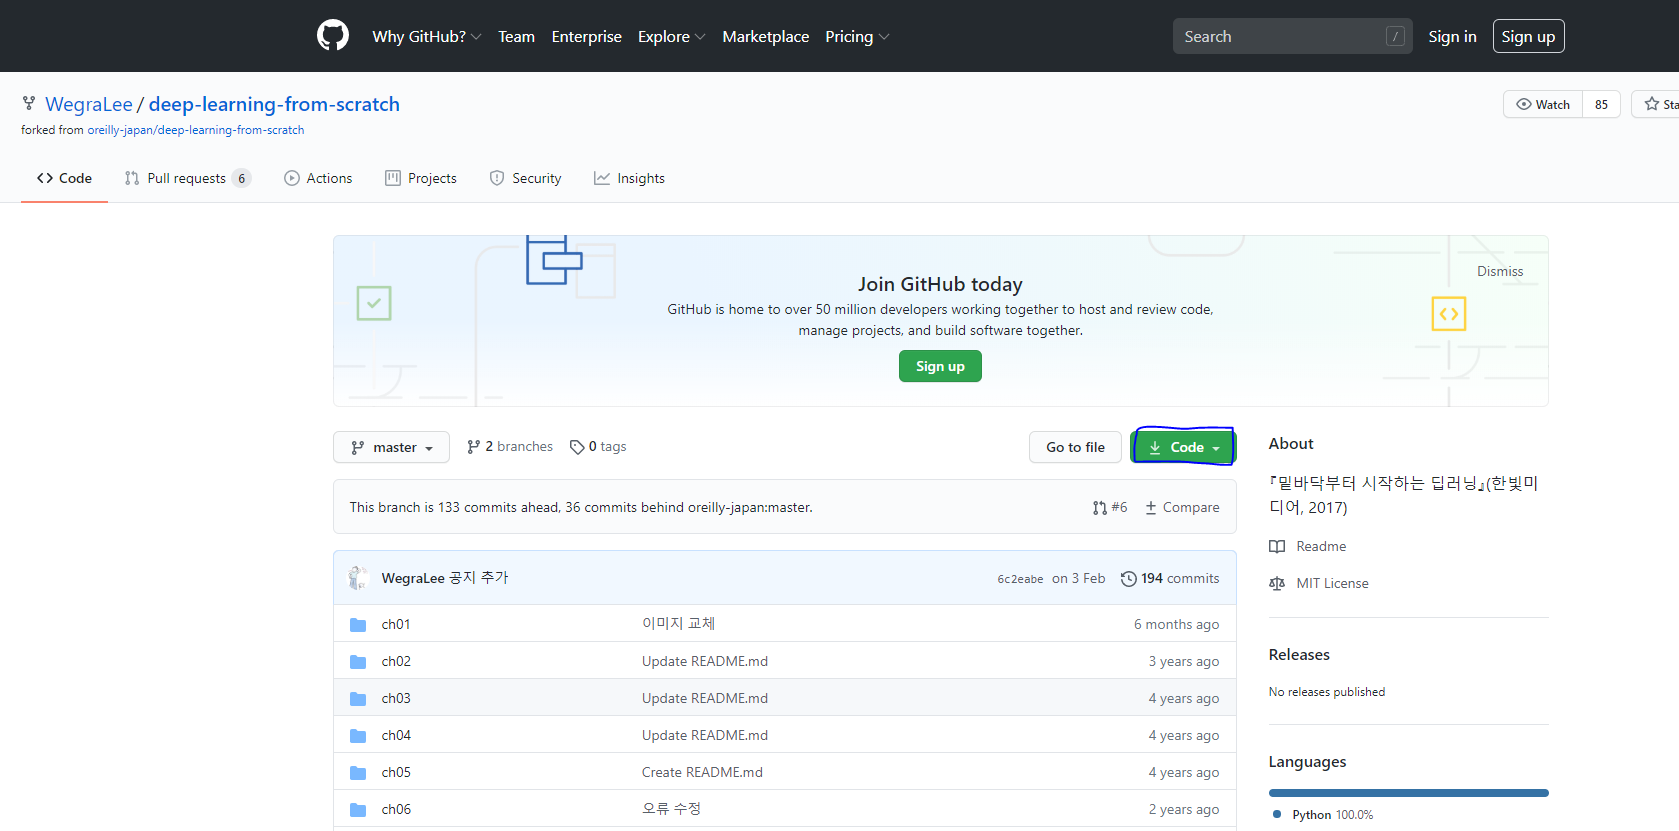
먼저 밑에 링크에 접속한다.
링크 : tinyurl.com/yxuaej34
WegraLee/deep-learning-from-scratch
『밑바닥부터 시작하는 딥러닝』(한빛미디어, 2017). Contribute to WegraLee/deep-learning-from-scratch development by creating an account on GitHub.
github.com

ZIP 파일을 다운한다.
zip 파일 다운 > 풀기 > ch01이라는 폴더 안에 파이썬 코드를 작성할 pardir.py 파일 하나 생성한다.
이제부터는 만들어둔 pardir.py에서 코드를 짤 것이다.
MNIST 데이터 형상 출력 코드
import sys, os
sys.path.append ( os.pardir )
from dataset.mnist import load_mnist
( x_train, t_train ), ( x_test, t_test ) = \
load_mnist ( flatten = True, normalize = False )
print ( x_train.shape )
print ( t_train.shape )
print ( x_test.shape )
print ( t_test.shape )
결과는
(60000, 784)
(60000,)
(10000, 784)
(10000,)
이 나온다.
코드 해석
첫 번째 부모 디렉터리의 파일을 가져올 수 있도록 설정하고 ( 2번 줄 코드 )
dataset/mnist.py의 load_mnist 함수를 임포트 한다. ( 3번 줄 코드 )
두 번째 load_mnist함수로 MNIST 데이터 셋을 읽는다.
여기서 load_mnist함수가 MNIST 데이터를 받아와야 하니 최초 실행 시에는 인터넷이 연결돼있어야 한다.
세 번째 읽어온 데이터를 ( 훈련 이미지, 훈련 레이블 ), ( 시험 이미지, 시험 레이블 ) 형식으로 반환한다.
이제는 MNIST 이미지 중 하나를 출력해볼 것이다.
MNIST 이미지 출력 코드
import sys, os
sys.path.append ( os.pardir )
import numpy as num
from dataset.mnist import load_mnist
from PIL import Image
def img_show ( img ):
pil_img = Image.fromarray ( num.uint8 ( img ) )
pil_img.show()
( x_train, t_train ), ( x_test, t_test ) = \
load_mnist ( flatten = True, normalize = False )
img = x_train [ 0 ]
label = t_train [ 0 ]
print ( label )
print ( img.shape )
img = img.reshape ( 28, 28 )
print ( img.shape )
img_show ( img )
결과는 아래와 같을 것이다.
5
(784,)
(28, 28)

코드 해석
첫 번째 5라는 이미지를 불러온다.
두 번째 불러왔을 때의 이미지 크기는 784이다.
이것을 원래 이미지 크기로 변형시키기 위해 img = img.reshape ( 28, 28 )을 사용했다.
세 번째 변형한 크기 출력이다.
이까지 숫자 5 라는 이미지를 인식하여 출력해주는 것을 파이썬으로 구현해보았다.
'공부 > 딥러닝' 카테고리의 다른 글
| 딥러닝 2.9 신경망 (0) | 2020.08.10 |
|---|---|
| 딥러닝 2.8 신경망 (0) | 2020.08.08 |
| 딥러닝 2.6 신경망 (0) | 2020.08.05 |
| 딥러닝 2.5 신경망 (0) | 2020.08.04 |
| 딥러닝 2.4 신경망 (0) | 2020.08.03 |


